Yes, you can change the drive letter in Windows 10 using the Disk Management settings and in this guide we will tell you how to do that.
Change the Drive Letter in Windows 10
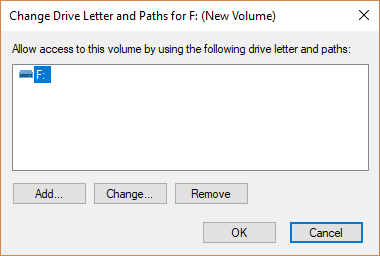
Important Note: It is always advised that you do not change the drive letter of the disk in which the Windows, and software are installed. You might have trouble running the software. With that being said let us start! Step 1: Type ‘Disk Management’ in the search bar and you will see an option of ‘Create and manage hard disk portions’, click on it. Or type ‘Computer Management’ in the search bar and then navigate to ‘Storage’ and then to ‘Disk Management’. Step 2: Right Click on the drive for which you want to change the drive letter, Click on ‘Change Drive Letters and Paths’. Step 3: Click on ‘Change…’. Step 4: Select the new drive letter from the options available and click on ‘OK’ and then you will see a warning about how the programs might not run correctly, click ‘Yes’. That is it. You are all set and that is how to change the drive letter in Windows 10. Read More About
Tips to Block Adult Content on Your Windows PC3+ Methods to Find Your Windows 10 Product Key InstantlyHow to Hide System Partitions in Windows 10?